TechSmith's SnagIt application is essential for anyone who needs to document on-screen processes on websites or in any kind of on-line or print publication. Although SnagIt has limited video capture capabilities, advanced video documentation is best done with TechSmith's other primary application, Camtasia.
Following the lead of many other software companies, TechSmith has abandoned version numbers. The current version is Camtasia 2018. That decision makes a lot of sense because TechSmith was late to MacOS, so Windows versions had one number and the MacOS version had a lower number.
In this version, TechSmith has improved the library functionality in the Windows version and added it to the MacOS version. Camtasia captures, edits, produces, and exports video sequences. It's important to understand that Camtasia is not Adobe Premiere, which is intended to edit and produce video sequences from a camera. Camtasia is a tool that's designed for documentation specialists.
Click any of the smaller images for a full-size view. To dismiss the larger image, press ESC or tap outside the image.
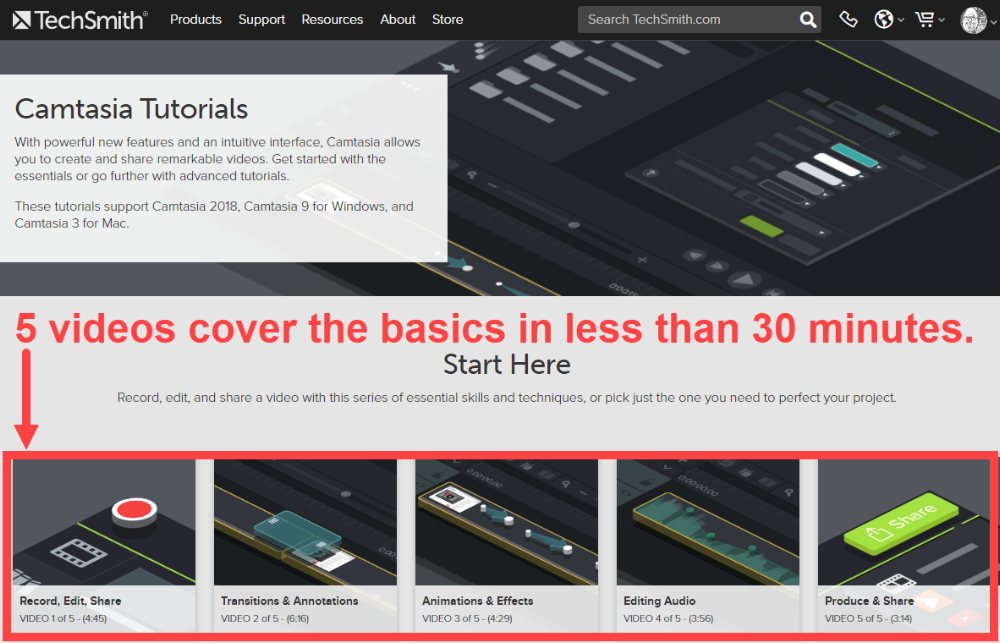 Although Camtasia is more basic than Premiere and therefore easier to learn, it's not an application that you can open for the first time and master in a day. But if you spend 30 minutes watching TechSmith's introductory tutorials and another hour or so experimenting, you should expect to be able to create basic documentation videos within a day or two. Those who have experience with other video editors or an earlier version of Camtasia will make a quick transition to the 2018 version.
TechSmith also offers a complete series of instructional videos that address using the program's more advanced features — and there are a lot of those. For this review, I'll limit the topics to what you might reasonably expect to master after watching the 5 introductory videos.
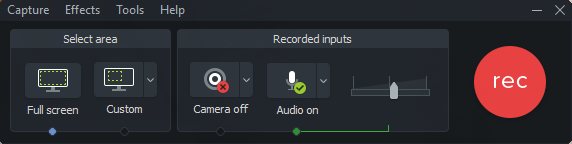 Recording captures the full screen of your primary monitor by default, but it's easy to change this if you want to capture just a small part of the screen. If your computer has a webcam, you can turn it on. Audio is on by default and you can select the appropriate audio input if your computer has more than one. After you press the big red button, Camtasia reminds you about which button to push when you want to stop recording and then starts a 5-second countdown to showtime.
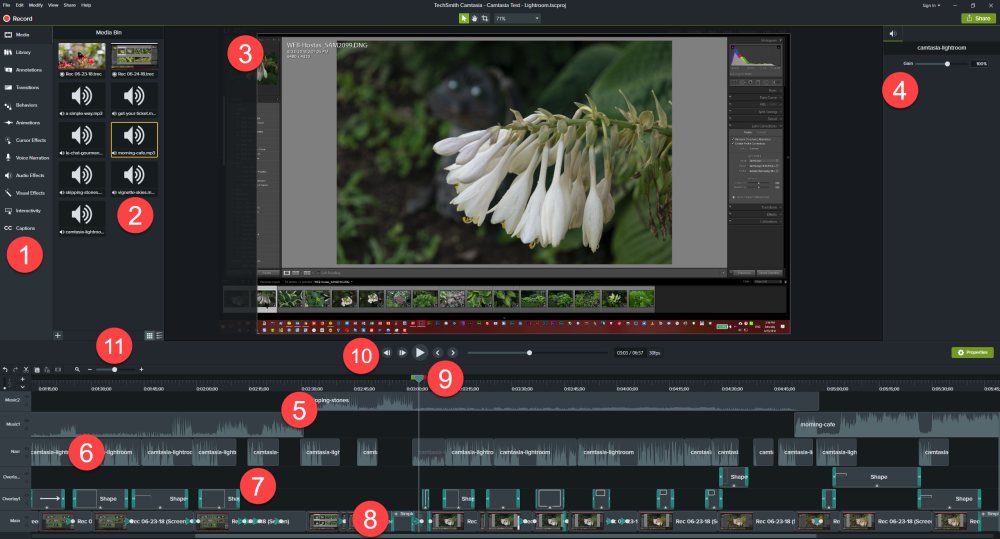 Camtasia's interface is similar to that of most video editors.
The Timeline, which occupies the full width at the bottom of the screen contains all of the active components in the video you're working on. You can create any number of tracks and name them appropriately.
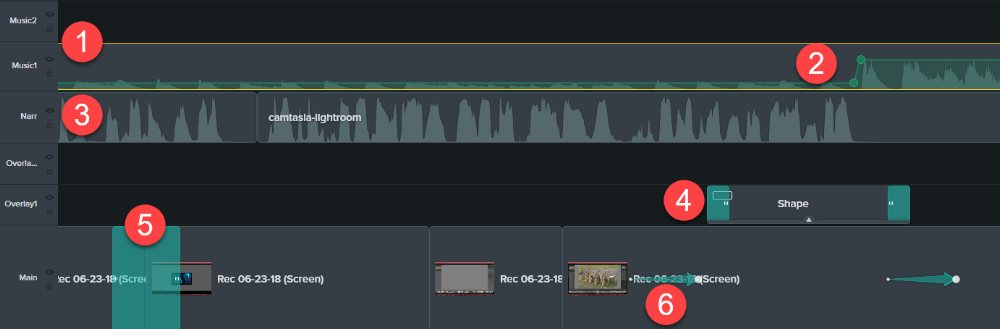 The timeline is flexible. In addition to being able to add tracks as needed, the tracks can be resized as you work on a video.
I created a sample video using Camtasia 2018 by recording the process of importing and preparing a series of photographs in Lightroom, editing one of the photographs, and the exporting images for use on Facebook. The video is just under 7 minutes long.
The video uses (3 times) a free intro that I downloaded from the Camtasia wesbsite and 3 of the free audio files. For casual users, the free assets provided are sufficient, but those who produce a lot of training videos should take a look at the paid options. Users have access to few royalty-free video assets that include customizable intros, outros, lower thirds, animated backgrounds, icons, and music tracks. A paid subscription version ($200/year) allows access to 600,000 royalty-free assets.
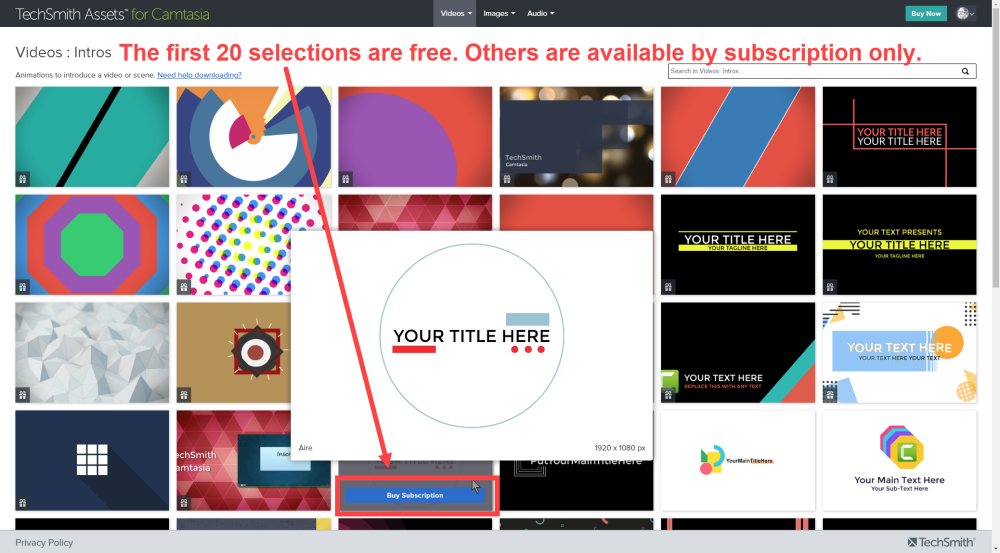 The first 20 animated intros on the TechSmith Camtasia downloads site are included with Camtasia 2018 and are already present in the program's library. Many more are available to subscribers.
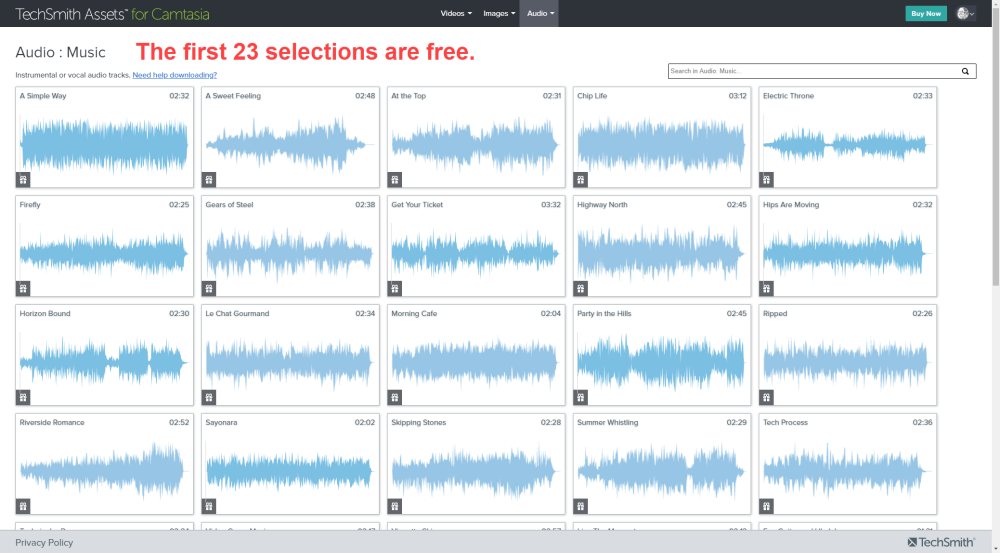 The same is true for audio tracks. I found 23 that are available without a subscription and used 3 of them in the test video. Many more are available to subscribers.
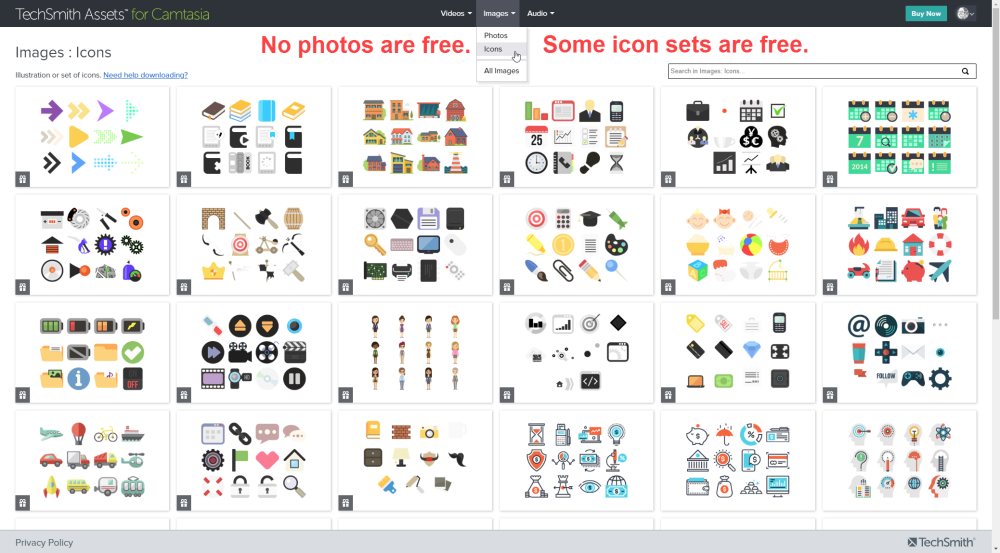 TechSmith also provides images and icons for download. I wasn't able to find any free photographs, but several groups of icons can be downloaded without additional charge.
Numerous sources exist for free, open-source images that are eligible for Creative Commons licensing. If you find nothing there, Adobe's stock plan ($360 annually), TechSmith's $200-per-year program, and other paid programs are worth considering.
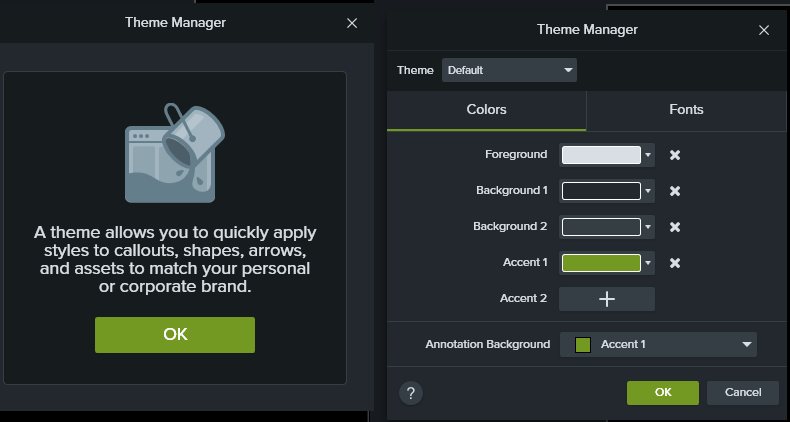 The theme manager helps users to maintain consistency across a single project or from one project to another. Create a named theme and define foreground, background, and accent colors that will be used for call-outs, shapes, arrows, and other assets. You can also define a typeface so that type will be used consistently throughout the project.
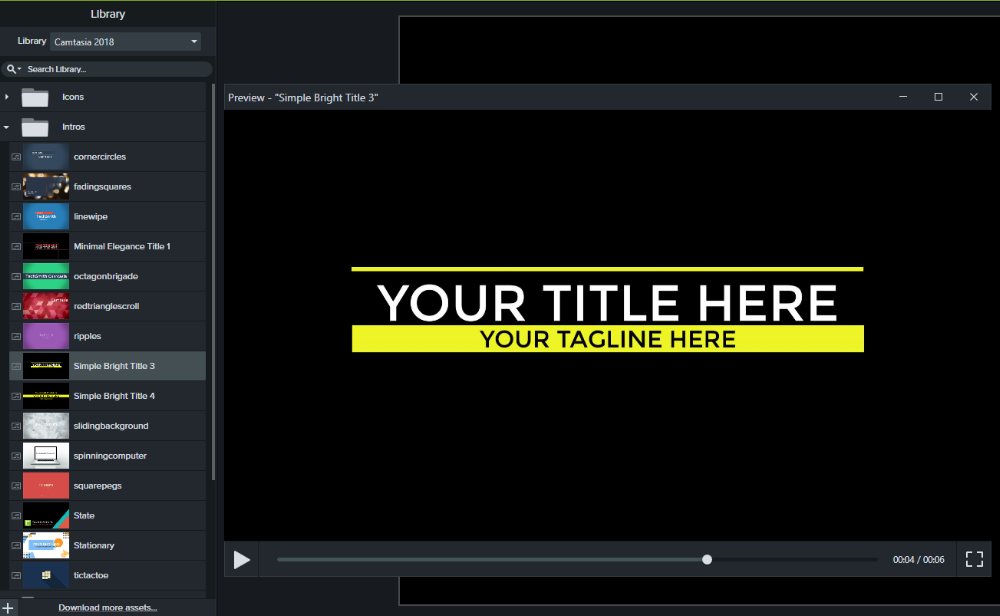 The library is in the tools panel on the left side of the screen. Selecting an asset category displays a list of free assets and offers the option to download more if you've signed up for the annual plan. For assets that include sound or motion, you can preview it to identify the one that fits your needs.
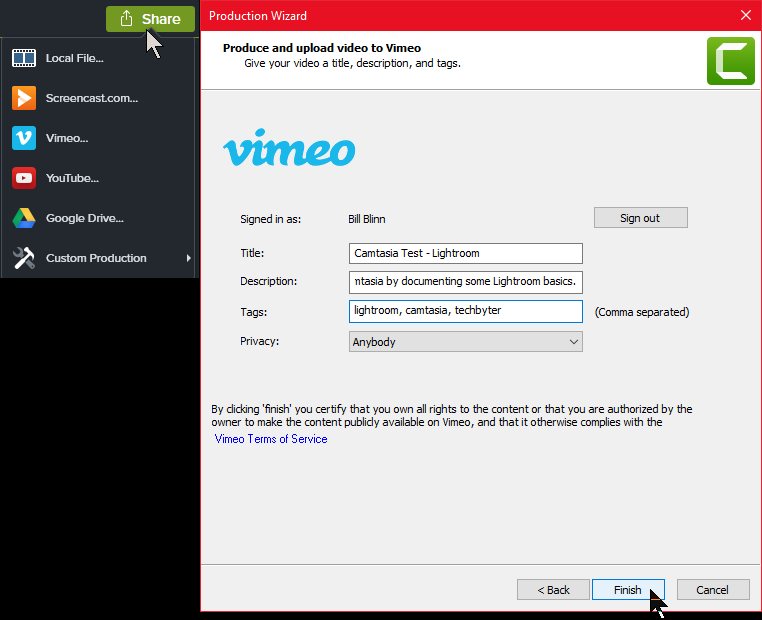 When the video is complete, you can export it as a file on your computer using any of several presets, create your own presets, or export to Screencast, Vimeo, YouTube, or Google Drive.
For my test video, I recorded the full screen on a high-resolution monitor (2560x1440 pixels). Exporting a high resolution video for use on the internet has been problematic in the past. By "problematic" I mean "tearing out what's left of your hair, shouting at the cat, and questioning your sanity for even thinking about creating a video."
Camtasia rendered the video, connected to Vimeo, and uploaded the file with only minimal work on my part — giving the video a name, providing a description, including some key words, and selecting the privacy setting. Vimeo processed the file and published it.

 If you create documentation videos, Camtasia might save your sanity.
A software support technician introduced me to Camtasia in 2002, not long after TechSmith released version 1.0 and I was impressed. Sixteen years later, I'm still impressed. If you need to create video documentation, it's unlikely that you'll find a better application. The 2018 version enhances Camtasia for Windows and brings Camtasia for MacOS in line with the Windows application.
Additional details and a 30-day trial download are available on the Camtasia website.
Browsers developers have been concentrating on security for severals years. Microsoft touts Edge as being more secure than the competition. Google makes similar claims about Chrome. And Mozilla is testing a new security tool called Firefox Monitor that's intended to alert users if their accounts have been compromised.
Firefox Monitor will be in a future release, but version 61 for Windows, Mac, Linux, and Android was pushed out to users this week and it has some worthwhile new security features, starting with the ability to block operations that rely on the insecure File Transfer Protocol (FTP) unless the document itself is an FTP document. The change deprecates non-secure HTTP and pushes forward the company's effort to force adoption of secure HTTP (HTTPS).
A full explanation is on Mozilla's website.
Version 61 also implements Transport Layer Security specification 1.3 that was released in 2014. TLS is the encryption protocol that allows networked applications or devices to exchange information privately.
The planned Monitor function is expected to let users see the details about sites and other sources of breaches and the types of personal data exposed. It will then recommend actions users can take to protect their privacy.
Mozilla will begin testing the Firefox Monitor tool with about a quarter of a million users and plans to roll it out to all users as soon as they're satisfied that it's ready for general release.
A bit tongue-in-cheek perhaps, One Travel took advantage of National Selfie Day (June 21) to explain the art of taking a good selfie. "If you're not a millennial," the company's news release said, "the art of the selfie might seem a little intimidating." If you find that you're even more intimidated when you want to look great and also show off all the activities you're doing on your getaway, they have some suggestions.
Clearly this is a self-serving news release that's intended to get the name "One Travel" in front of as many people as possible, but it also included some really good information. So I'm willing to play the game. If you're thinking about going somewhere on vacation, here is One Travel's website, where you'll find more useful travel information. Now the selfie how-to [along with my comments].
It's been a long time since I received one of those fake delivery notifications, the ones that try to convince the recipient to open a poisoned file or follow a poisoned link. These scams had nearly dropped off the face of the internet, but apparently the crooks are still able to trick some people.
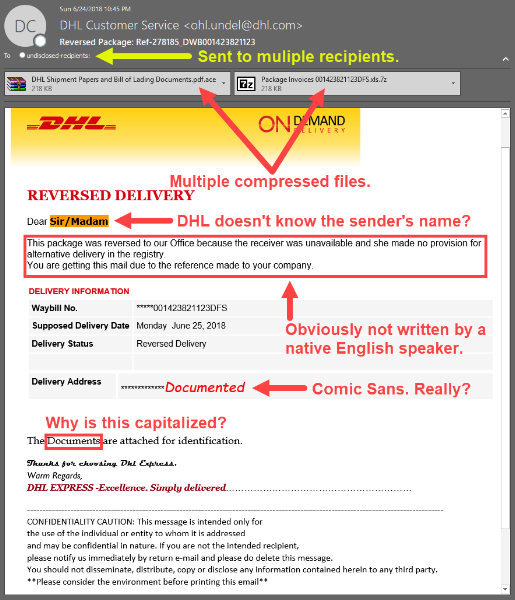 This message is generally similar to the kinds of messages we've seen in the past, but there's at least one new trick that's apparent. Let's start at the top of the message and work through it.
The first rule of the internet continues to be Trust Nothing!