Here's a prediction: If you ever work with a computer that has two monitors, you'll never willingly go back to using just one. Even those who are adamant that a second monitor will just get in their way are usually sold on the idea after just a few minutes. Fortunately, decent monitors are less expensive than they used to be and setting them up is easy.
Just as television screens have changed over the years, so have computer monitors. In the 1980s, we used monitors that measured 12 or 14 inches diagonally. Initially, they were monochrome, usually green or orange, and displayed only text. Then we got graphics and colors. Monitors began to grow, but large monitors could be 18 inches deep (or more), they might weigh 50 pounds, and they would make even an air conditioned room unbearably hot. LCD and LED monitors have changed all that.
Flat screen monitors were absurdly expensive at first; buying one was a challenge and buying two was out of the question financially for individuals or businesses. Exceptions were made for people who needed multiple views -- stock brokers, for example. As prices dropped, businesses realized that their employees could be more efficient when they had two monitors. Now it seems that most businesses either issue all employees systems with two monitors or provide a second monitor to anyone who wants them.
This makes sense for businesses. It also makes sense for individuals. Many computers come with connections for two monitors and there are hardware options for those that don't.
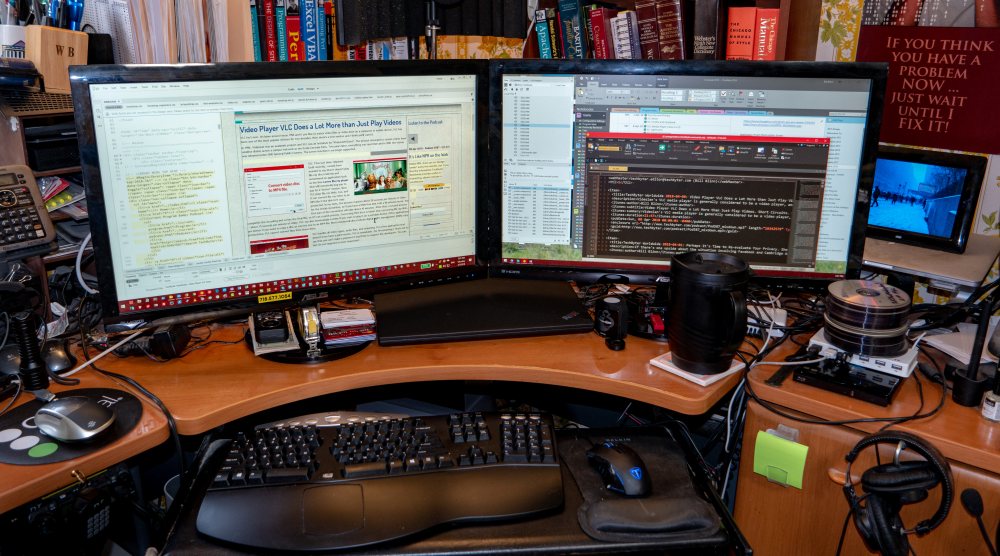
 Anybody who spends much time working with digital photographs will welcome a second monitor. Consider Adobe Lightroom Classic CC, for example. I keep presets, profiles, adjustment tools, a filmstrip, and the reference image on the left monitor. As a result, the image itself is relatively small, even on a 27-inch monitor. The right monitor can display a light table view with thumbnails of many images (handy for sorting and organizing images) or it can display a "loupe" view that shows the image with its adjustments -- either full screen or zoomed in to reveal the image's details.
 For writers, the word processor will occupy the main screen (for me, that's the one on the left) and reference materials, a browser, a dictionary, or a second word processor document can be displayed on the secondary screen. The goal is to be able to glance at the secondary screen for information while working on the main screen. If you routinely need to move one window out of the way to be able to see something that's in another window, you need a second monitor.
Even if you think you're not a "power user", consider how you might use a second monitor: Maybe your primary computer use involves email or a browser, but you'd like to keep an eye on Facebook or Twitter. Or maybe you'd like to have a motion picture on the second screen.
Software developers make good use of multiple monitors, too. One screen might hold documentation for the project they're working on, or a different view of the code, or possibly a window where they can run the code in test mode.
And if you're a serious video gamer, you probably already have two monitors. Or three. It's no longer uncommon to find systems with three monitors. Several editors I know have set ups with 3 monitors. One is rotated 90 degrees so that it's more like a sheet of paper and the other monitors hold dictionaries, style manuals, and the publisher's style guide. This kind of set up eliminates time that would otherwise be wasted trying to find reference information.
Doubtless there are earlier articles about using multiple monitors, but PC World published "Tips & Tweaks: Two Monitors Are Way Better Than One" all the way back in 2005.
But can't we just use a single large monitor with a lot of windows? Maybe this would work with a huge monitor -- one with a 50-inch diagonal measurement -- but I've found that not to be a good solution. One primary disadvantage is obvious when the user wants to make one of the windows larger. On a dual-monitor setup, you'd just make that window full screen on the second monitor and your primary monitor would be untouched. On a single monitor the large window takes over the entire screen.
An external monitor can be connected to most notebook computers, but that's rarely a good solution because the built-in monitor and the external monitor will usually have different sizes and resolutions. It's better to buy two matching monitors and hook them both up to the computer. Notebooks that have DisplayPort video adapters can usually handle two monitors easily, but computers with only HDMI ports may need some additional hardware -- a special adapter or a docking station.
If you need a docking station, take a look at offerings from third-party manufacturers such as Targus, Kensington, StarTech, Wavlink, and many others. These are usually less expensive than docking stations with the computer manufacturer's badge and often have extra features.
Computers made in the past few years will probably have DisplayPort or HDMI video ports. DisplayPort is the most recent adapter type and you'll find DisplayPort on Macs, most Dell computers, and those by HP and Lenovo. HDMI is the default connector for televisions, Blu-ray players, and a lot of other video devices. Older systems will have DVI connectors and unfortunately there are 6 DVI variants: DVI-D for digital-only connections (single and dual versions), DVI-I handles analog or digital connections (also in single and dual versions), DVI-A for analog-only connections; and the DMS-59 connector. Dual-Link DVI-I is the most common.
 The hardware connections are usually easy to figure out and then all you need to do is tell the computer that a second monitor is attached. In fact, the computer will undoubtedly tell you that a second monitor is attached, but you'll need to tell the computer how you want to use it. Both Windows and the MacOS offer similar options. I'll use Windows 10 to display the options.
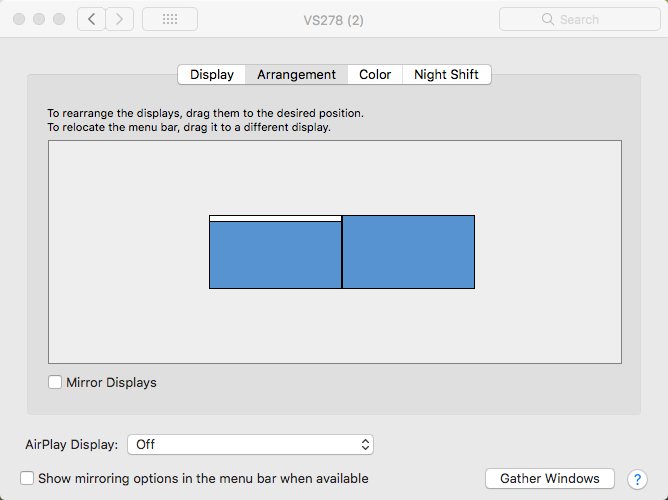
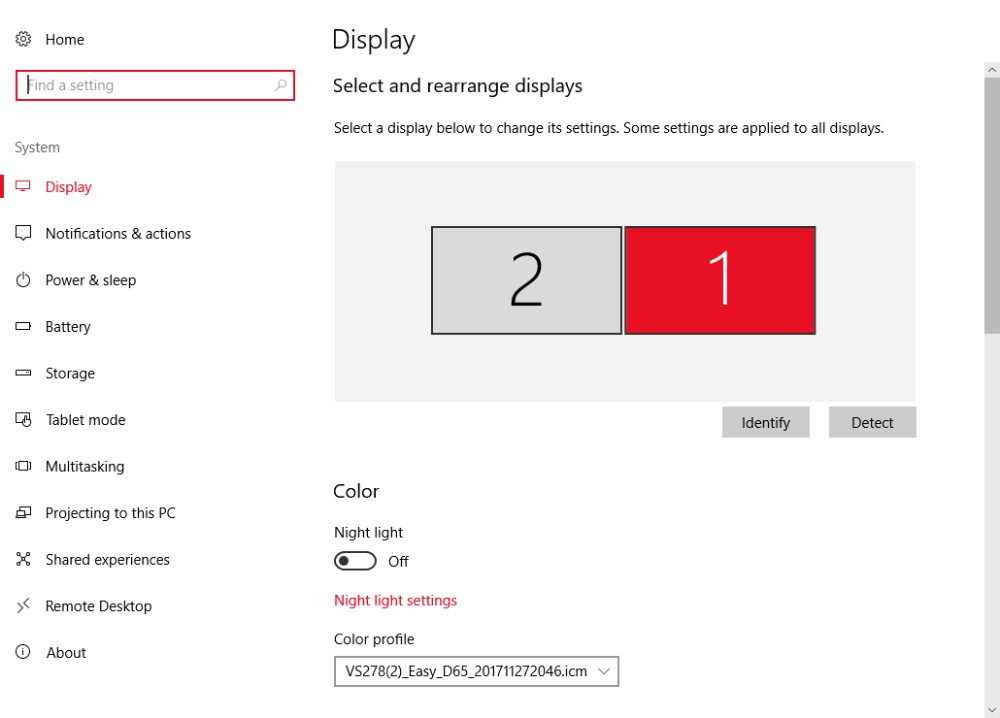
The operating system will detect the monitors and provide a way for you to tell which is which. Windows displays numbers that are based on the order in which the monitors have been detected. You can then drag them so that they are side by side or one over the other.
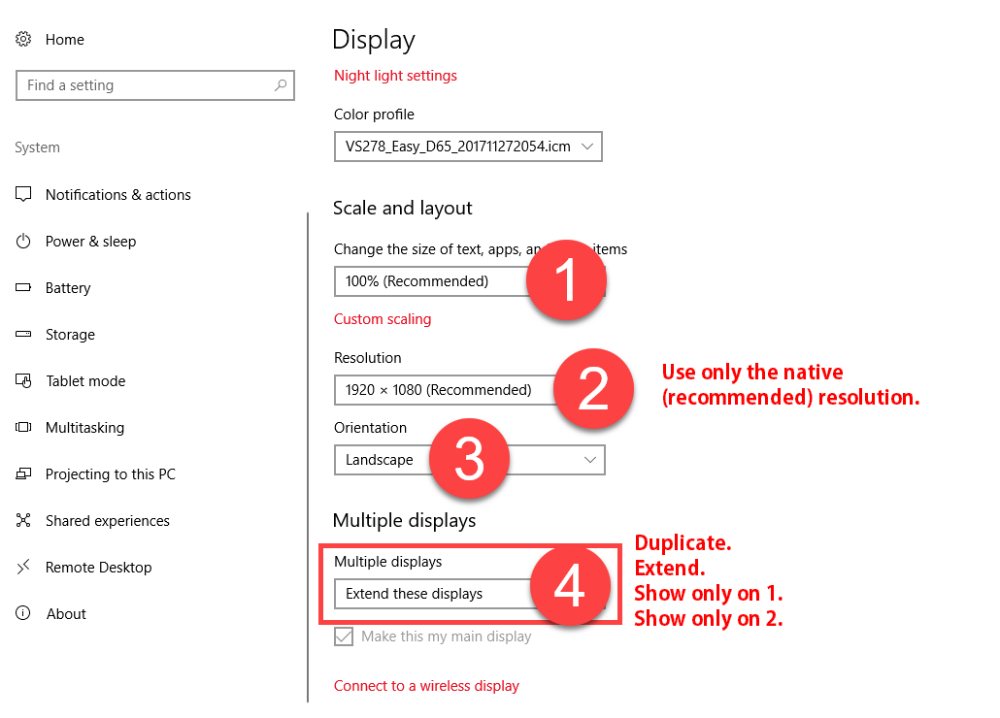 Then you'll need to provide some additional information. (1) The size of text will be set to 100% for most external monitors. This needs to be changed only for high-resolution internal monitors on notebook and tablets computers where the text is too small to read otherwise. (2) The operating system will select the monitor's native resolution and this should not be changed. (3) Orientation determines whether the monitor is wide (landscape) or tall (portrait). Most users won't need to change any of these.
(4) You will want to specify how the monitor is used, though, and there are several options:
Duplicate: Shows the same image on both screens. This is the method that is used for PowerPoint presentations so that the presenter sees on the computer what the audience sees on the large screen.
Extend: This is what you'll probably want. It allows you to drag an application from one screen to another pr to stretch it across multiple screens.
Show only on 1|Show only on 2: This setting moves all windows to the selected screen and turns the other screen off. Use this if you have two monitors but want to use only one. (Why is this even an option?)
 What's better that dual monitors? Dual monitors with dual computers. Most monitors have 2 or more inputs. The ones I use have 4: 2 HDMI ports, 1 DisplayPort, and 1 VGA. The inputs are selected from the front panel, so I can connect a Lenovo ThinkPad to HDMI 1 and a Ibook Pro to HDMI 2. When used with an A-B switch that swaps the mouse, keyboard, and digitizing tablet between the two systems, I have a lot of choices without having to take up much space on the desk.
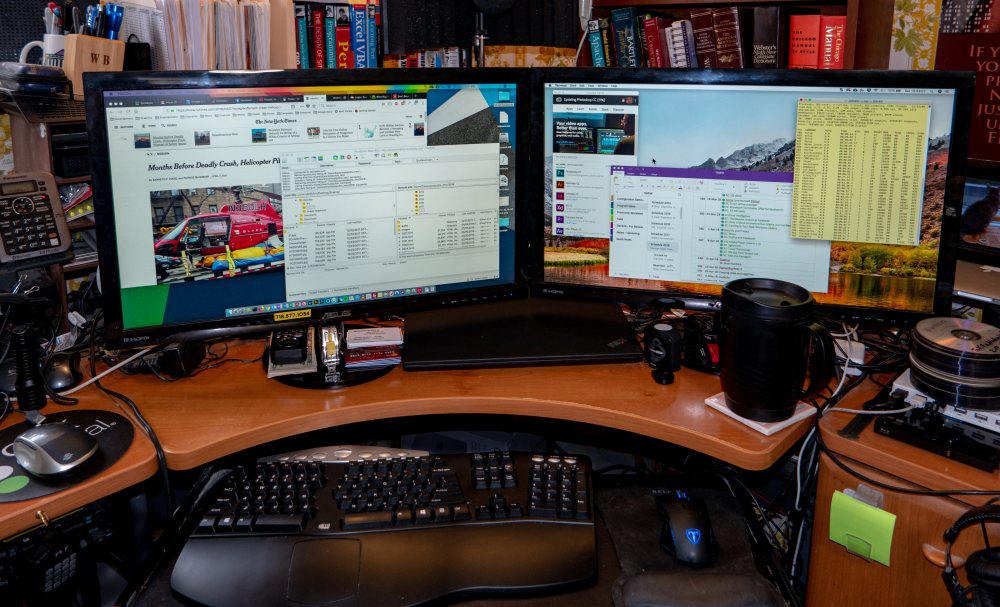
The dual-monitor setup on the left is running Windows. The same dual-monitor setup on the right is running MacOS.
An update from Apple created a problem for those who enable multiple monitors via USB connections. If your Mac has mini-HDMI or mini-DispalyPort connectors, you won't see the problem. Updating from MacOS 10.13.3 to 10.13.4 might be a problem. According to ExtremeTech, "users of DisplayLink technologies and compatible monitors have found their ability to use these solutions sharply curtailed, at best. Other screen-extension tools appear to be affected as well." Follow the link to see the full article. In brief, the bug does not affect computers with external monitors connected to a GPU-driven port and appears not to affect displays connected via Thunderbolt. But ExtremeTech points out "it's clear from reading various comments in product forums that plenty of people have been blindsided by this change, with no solution from Apple in sight." The temporary solution, if you're using one of the affected technologies, is not to update the operating system to 10.13.4.
Just about everybody has a video camera now. Smart phones can capture high-resolution video. So can most digital cameras, even the low-priced ones. So maybe you'd like to have a video editor, but you use it so infrequently that you're not willing to pay for it. Enter Shotcut.
 It runs on Windows, MacOS, and Linux. And "free" means free. There's no paid version, no advertisements, no bundled crapware. For testing, I installed Shotcut on a Mac, but Windows users will find that it's a good replacement for the Windows Movie Maker that's no longer included.
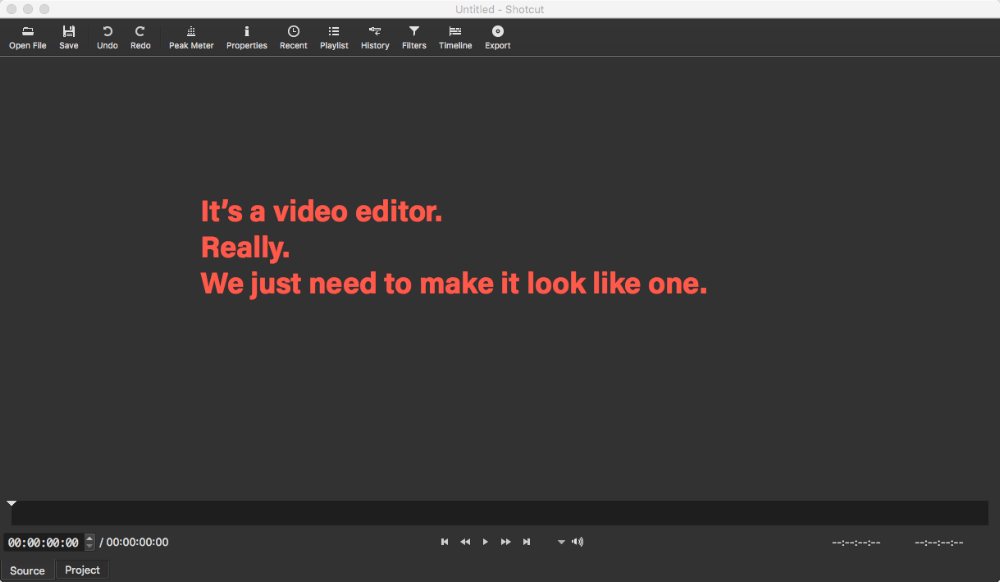
If you've used other video editing software, you may be a bit puzzled when you open Shotcut because it has a very plain interface that doesn't look like any other video editor. So it's obvious from the start that this isn't Adobe Premiere or even Premiere Elements. The plain interface might even convince you that there's not much here, but persist.
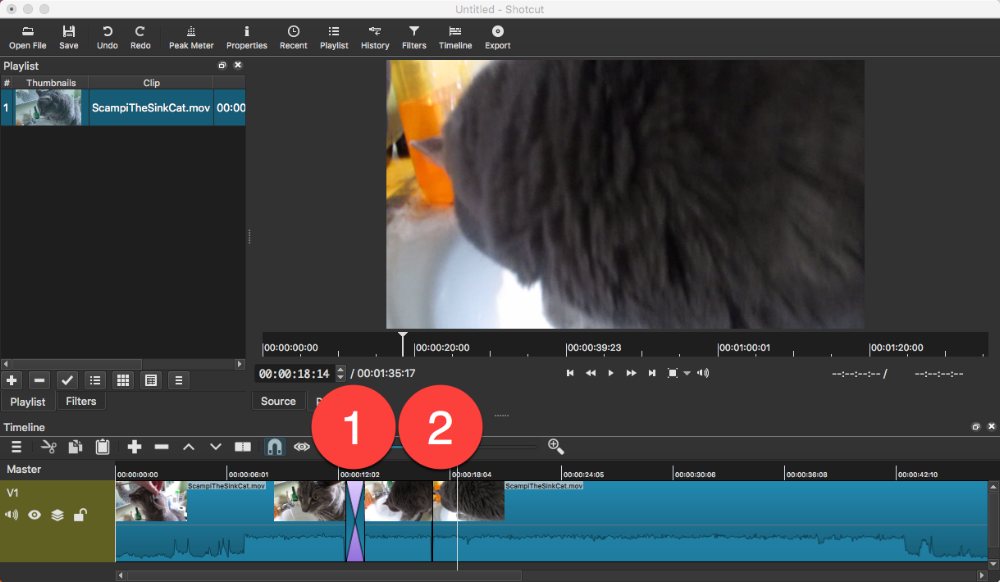
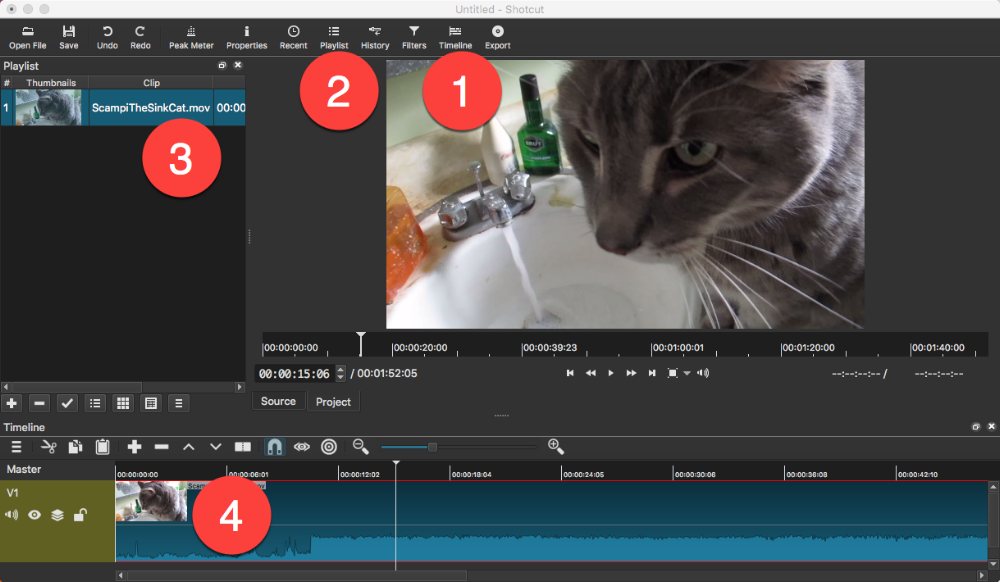 Start by making the interface a little less plain by (1) opening the timeline and the (2) playlist, then (3) dragging a video file into the playlist and adding it to the (4) timeline. Now it looks a lot more like a video editor. Pressing the space bar starts and stops playback.
The most basic video edits involve removing unwanted parts -- things that happen before the main event or after it. The process is easy. If the part you don't want is at the beginning or end of the sequence, click and hold the left edge or right edge of the video on the timeline and move the mouse until you've eliminated the part you don't want. This is non-destructive: If you overshoot or change your mind later, just move the edge back to where it was.
 To split a clip when you want to remove extraneous material inside a clip, place the playback head where you want to split the clip, tap the split icon, move to the end of the section you want to remove, and repeat the process. Then select the clip to be removed and delete it. Once you've done that, it's time to assemble the remaining pieces to transition from one scene to another.
This is typically done with a simple cut or a cross-fade and Shotcut does both easily. For a smooth cross-fade transition, (1) overlap one video clip on another or, if you prefer a cut, place the clips side by side (2) with no overlap. Shotcut turns "snap" on by default so that video clips stick together with no dead space between them.
 More advanced users will want to be able to add video tracks and audio tracks. That's just the start for those who want to become more advanced editors. Shotcut includes filters that can be used to adjust the brightness, color, and contrast of the video, to adjust the audio, and more. The included features are surprising for a free application and Shotcut's developers have even provided on-line tutorials.
You'll find competing video editors with more power and competing video editors that are easier to use, but it's doubtful that you'll find a competing video editor that's free and has Shotcut's capabilities.
For more information or to download the application, visit the Shotcut website.
Microsoft has started pushing the Windows 10 spring update (version 1803) out and you have several options: Just sit back and relax. If you do that, you'll get what you get when you get it. End of story. Or maybe you'd like to get it as soon as it's available and you know that not all users will receive the update on the first day. Or maybe you want to delay the update. Let's consider the options.
If that's your choice, just skip to the next article. Your computer will download the spring update sometime and your computer will restart. That's the easiest choice.
Before going to get the update, check to see if you already have it. Open Settings, click the System icon, and then choose About. Scroll down until you see Windows specifications and look for the version number. If you see 1803, your computer already has the update. Assuming you see 1709 or 1607, your computer has an earlier version. You can obtain the update if you don't yet have it.
Open Settings, click the Update & Security icon, and then click Check for Updates. This might show you the spring update, or maybe not.
If not, you could enroll in the Windows Insider program by clicking Windows Insider Program at the bottom of the left column and then following the instructions. Once you've done that and installed the spring update (which will actually be the final beta version from the Windows Insider Slow ring), remember to opt out of the program if you don't want to receive the next beta version.
Even Windows 10 Home users now have some control over updates, but it's complicated. First, if you're running Windows 10 Pro and you want to delay the update, open Settings, click the Update & Security icon. Click Advanced Options under Update Settings. Here's where you can choose what to install and control, to a limited extent, when.
Windows 10 Home users still need to fib to the operating system by setting the internet connection to metered. Do this by opening Settings, clicking the Network & Internet icon, and selecting Ethernet in the left column. Then click the name of the connection to open a dialog box and move the Set as metered connection switch to the right.
This will probably delay the update, but eventually the update will be forced. The timing is unpredictable.
New notebook and tablet computers often come with astonishingly high resolution screens. My notebook system has a 15.6-inch screen (relatively large for a laptop, but small when compared to external monitors) and the resolution is 1920x1080. Text is far too small to read, so imagine using a screen with even finer resolution.
There are notebook computers with resolution as high as 4096x2160 pixels. A Microsoft Surface Pro 4 tablet has a 12.3-inch screen with a resolution of 1736x1824 pixels. That's wonderful for photographs, but for text -- not so much. Fortunately, you can adjust the text scaling, which is better than setting the screen to a non-native resolution.
Old-style CRT monitors could be set to lower resolutions without degrading the text, but this doesn't work well for flat-screen monitors. Using anything but the screen's native resolution will make the text fuzzy, so the solution is to adjust the scaling factor for text.
Windows can adjust the scaling to various percentages. If you start with a 4096x2160 monitor and scale it to 200%, you'll effectively have a 2048x1080 monitor. The text will still be a bit small, but you'll probably be able to read it.
The scaling available depends on your computer's video subsystem and the screen. To see what options you have, open Settings, then click on the System icon, choose Display from the left column and use the options under the Scale & Layout heading. You can then choose a scaling factor other than the Recommended option by expanding the list under Scale and Layout.
Beware, though, not all applications will scale properly. This is more of a problem with older applications than with current ones that have been optimized for Windows 10.